Create a Home Gym with Toronto Flooring Installation
· maintaincenter.com
Why a Home Gym?
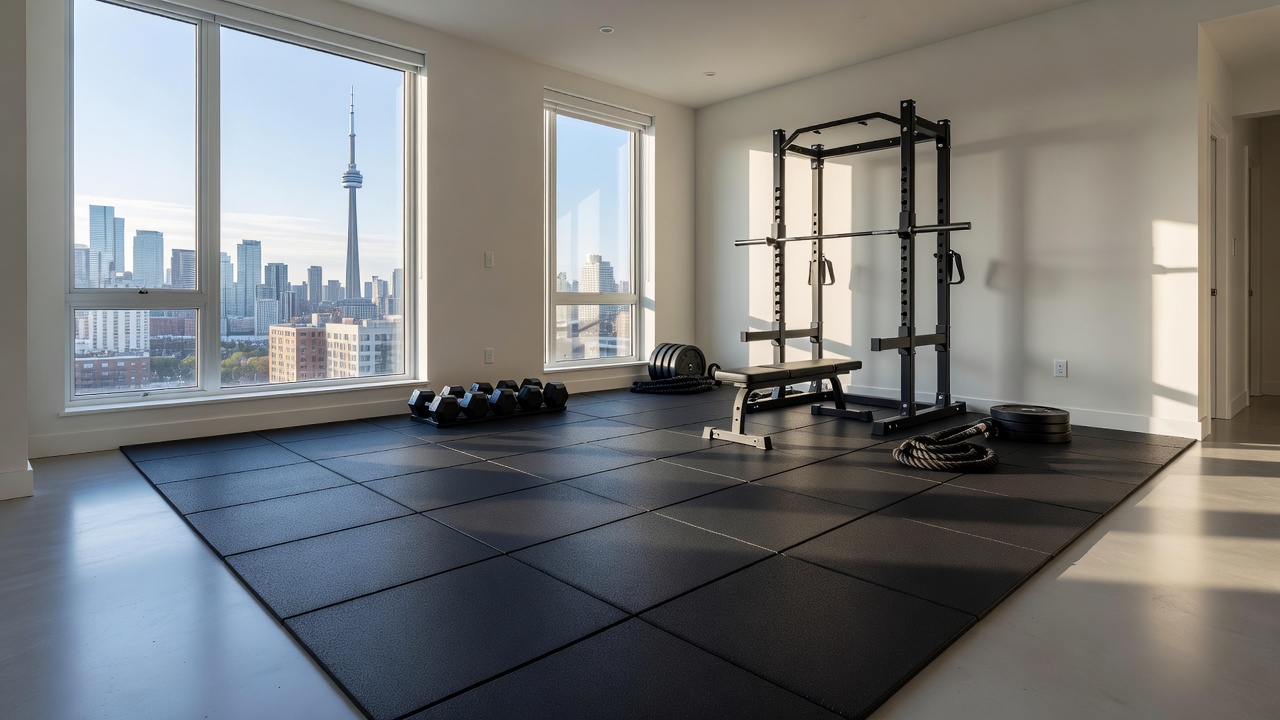
With the rising trend of fitness enthusiasts and the convenience it offers, creating a home gym has become a popular choice for condo and apartment owners in Toronto. A home gym not only saves you the hassle of commuting to a gym but also allows you to work out at your convenience. However, one essential aspect that often gets overlooked is the flooring.
Choosing the Right Flooring
When it comes to flooring for your home gym, you want something that provides comfort, durability, and safety. There are several options available, including:
- Toronto LVP Flooring: Luxury Vinyl Plank (LVP) flooring is a great choice for its water resistance and durability. It mimics the look of hardwood without the same maintenance concerns.
- Toronto Hardwood Flooring: While stunning, hardwood may not be the best choice for a gym due to its susceptibility to moisture and impact.
- Tile Flooring: Durable and easy to clean, tile flooring can be a good option but may be hard on the joints.
For a home gym, we recommend using LVP flooring due to its balance of comfort and resilience, making it perfect for high-impact workouts.
Tools and Materials Needed
Before you begin your flooring project, gather the following tools and materials:
- Luxury Vinyl Planks (LVP)
- Underlayment (if required)
- Utility knife
- Measuring tape
- Square and chalk line
- Rubber mallet
- Flooring spacers
- Saw (for cutting planks)
Step-by-Step Installation Process
Here’s how to install your LVP flooring for your home gym:
Step 1: Prepare the Subfloor
Ensure that your subfloor is clean, dry, and level. Remove any old flooring and make necessary repairs before proceeding.
Step 2: Measure and Plan
Measure your gym space to determine how much LVP flooring you need. Create a layout plan that minimizes waste and maximizes aesthetics.
Step 3: Install Underlayment
If your LVP requires underlayment for additional cushioning and soundproofing, roll it out across the entire gym area.
Step 4: Lay the First Row
Start with the first plank in the corner of the room. Use spacers to maintain a gap between the wall and the plank. Continue laying planks in a staggered pattern for a seamless look.
Step 5: Cut and Fit Planks
Use a utility knife or saw to cut planks to fit around corners and edges. Make sure to leave space for expansion.
Step 6: Finish Up
Once all the planks are laid, remove spacers and install baseboards or molding to cover the gaps. Clean the floor to remove any debris.
Maintaining Your Home Gym Flooring
To keep your flooring looking great, regularly sweep or vacuum to remove dirt and debris. Mop with a gentle cleaner to maintain sheen and longevity. Avoid using harsh chemicals that could damage the LVP.
Conclusion
Creating a home gym in your Toronto condo or apartment can be a rewarding summer DIY project. With the right flooring, you can enjoy a functional and stylish workout space. For those who prefer to leave it to the pros, consider reaching out for Toronto flooring installation services.
FAQ
What is the best flooring for a home gym?
LVP flooring is often recommended for home gyms due to its durability, comfort, and water resistance.
Can I install LVP flooring myself?
Yes, LVP is designed for easy DIY installation; just follow the steps outlined above.
How do I maintain my gym flooring?
Regular cleaning with gentle products and avoiding harsh chemicals will help maintain your flooring's appearance.
Is it necessary to use underlayment with LVP?
While not always necessary, underlayment can provide additional cushioning and soundproofing.
Where can I find flooring contractors in Toronto?
You can find verified flooring contractors through local listings or by searching for Toronto flooring services.
Contact a verified pro through MaintainCenter.