DIY A/C Recharge: Keep Your Car Cool in Toronto
· maintaincenter.com
As summer approaches in Toronto, the sweltering heat can make driving unbearable if your car's air conditioning system isn't functioning properly. A well-functioning A/C not only keeps you comfortable but also ensures a safer driving experience. If you’re looking to save some money and tackle the task yourself, this guide will walk you through the steps of DIY A/C recharge. Let’s dive in!
Tools and Materials Needed
- A/C recharge kit (available at auto parts stores)
- Safety goggles
- Gloves
- Thermometer
- Basic hand tools (wrenches, screwdrivers)
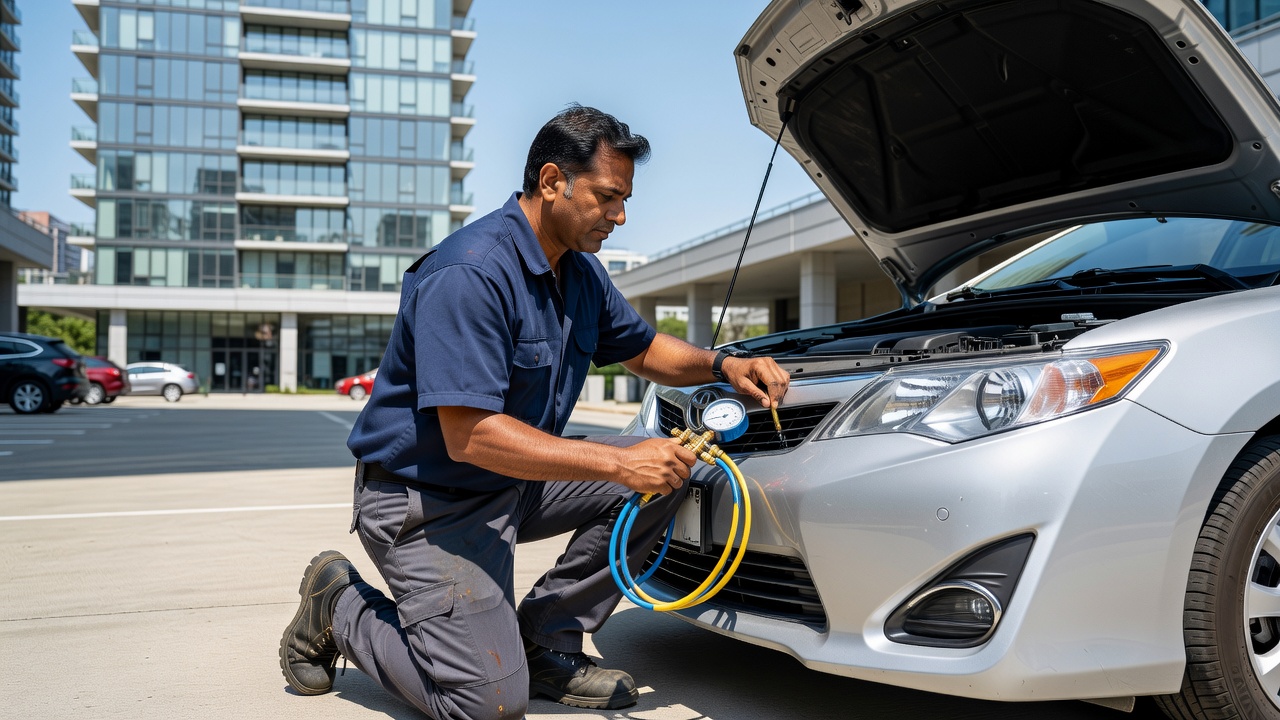
Understanding Your Car's A/C System
Your car’s A/C system works by circulating refrigerant through a closed loop, absorbing heat from the cabin and releasing it outside. Over time, this refrigerant can leak or deplete, leading to reduced cooling efficiency. Knowing how to recharge your A/C is essential for maintaining optimal auto climate control.
Step-by-Step A/C Recharge Process
Step 1: Safety First
Before starting, ensure you are wearing safety goggles and gloves. This will protect you from any harmful chemicals or debris.
Step 2: Locate the Low-Pressure Port
Find the low-pressure service port on your A/C system. This is typically located near the firewall on the passenger side of the engine compartment. It’s important to ensure you’re connecting to the low-pressure side to avoid damaging your system.
Step 3: Attach the A/C Recharge Kit
Take your A/C recharge kit and attach the hose to the low-pressure port. Make sure it clicks into place securely. Check for any leaks before proceeding.
Step 4: Check the Current Pressure
Most A/C recharge kits come with a pressure gauge. Start your car and turn the A/C to the maximum setting. Observe the gauge reading to determine how much refrigerant is needed. If it’s below the recommended pressure, it’s time to add refrigerant.
Step 5: Add Refrigerant
With the engine running and A/C on max, open the valve on the recharge kit to begin adding refrigerant. Keep an eye on the gauge; you want to achieve the optimal pressure, typically around 30-40 psi. Avoid overcharging, as this can lead to system damage.
Step 6: Monitor the A/C Performance
Once you’ve added the refrigerant, close the valve and detach the hose. Allow the A/C to run for a few minutes, and then check the air temperature coming from the vents. If it’s cool, congratulations! You’ve successfully recharged your A/C.

Common Issues and Troubleshooting
If your A/C still isn’t cooling effectively after the recharge, you may be dealing with a leak or a more complex issue that requires professional Toronto car AC repair. Common signs that something is wrong include:
- Warm air blowing from vents
- Unusual noises when the A/C is on
- Visible refrigerant leaks
For these concerns, it’s advisable to consult a professional for thorough diagnostics and repair.
Conclusion
Keeping your car cool during Toronto's hot summer days doesn’t have to be complicated or costly. With a little effort, you can perform an A/C recharge and enjoy a comfortable ride. Remember, if you encounter any significant issues, don’t hesitate to reach out for Toronto car heater repair or professional assistance.
FAQ
How often should I recharge my car's A/C?
Generally, it’s recommended to recharge your A/C every 1-2 years, but this can vary based on usage and the car's age.
Can I recharge my A/C if it's leaking?
No, it’s best to address any leaks before recharging, as the refrigerant will escape and not provide lasting results.
What are signs that my A/C needs repair?
Common signs include weak airflow, warm air from vents, unusual noises, or a musty smell.
Where can I find professional car AC repair in Toronto?
You can find verified professionals through local auto repair shops or online platforms offering Toronto car AC repair.
Is it safe to recharge my car's A/C myself?
Yes, as long as you follow safety precautions and use the correct tools. However, if in doubt, consult a professional.
Contact a verified pro through MaintainCenter.